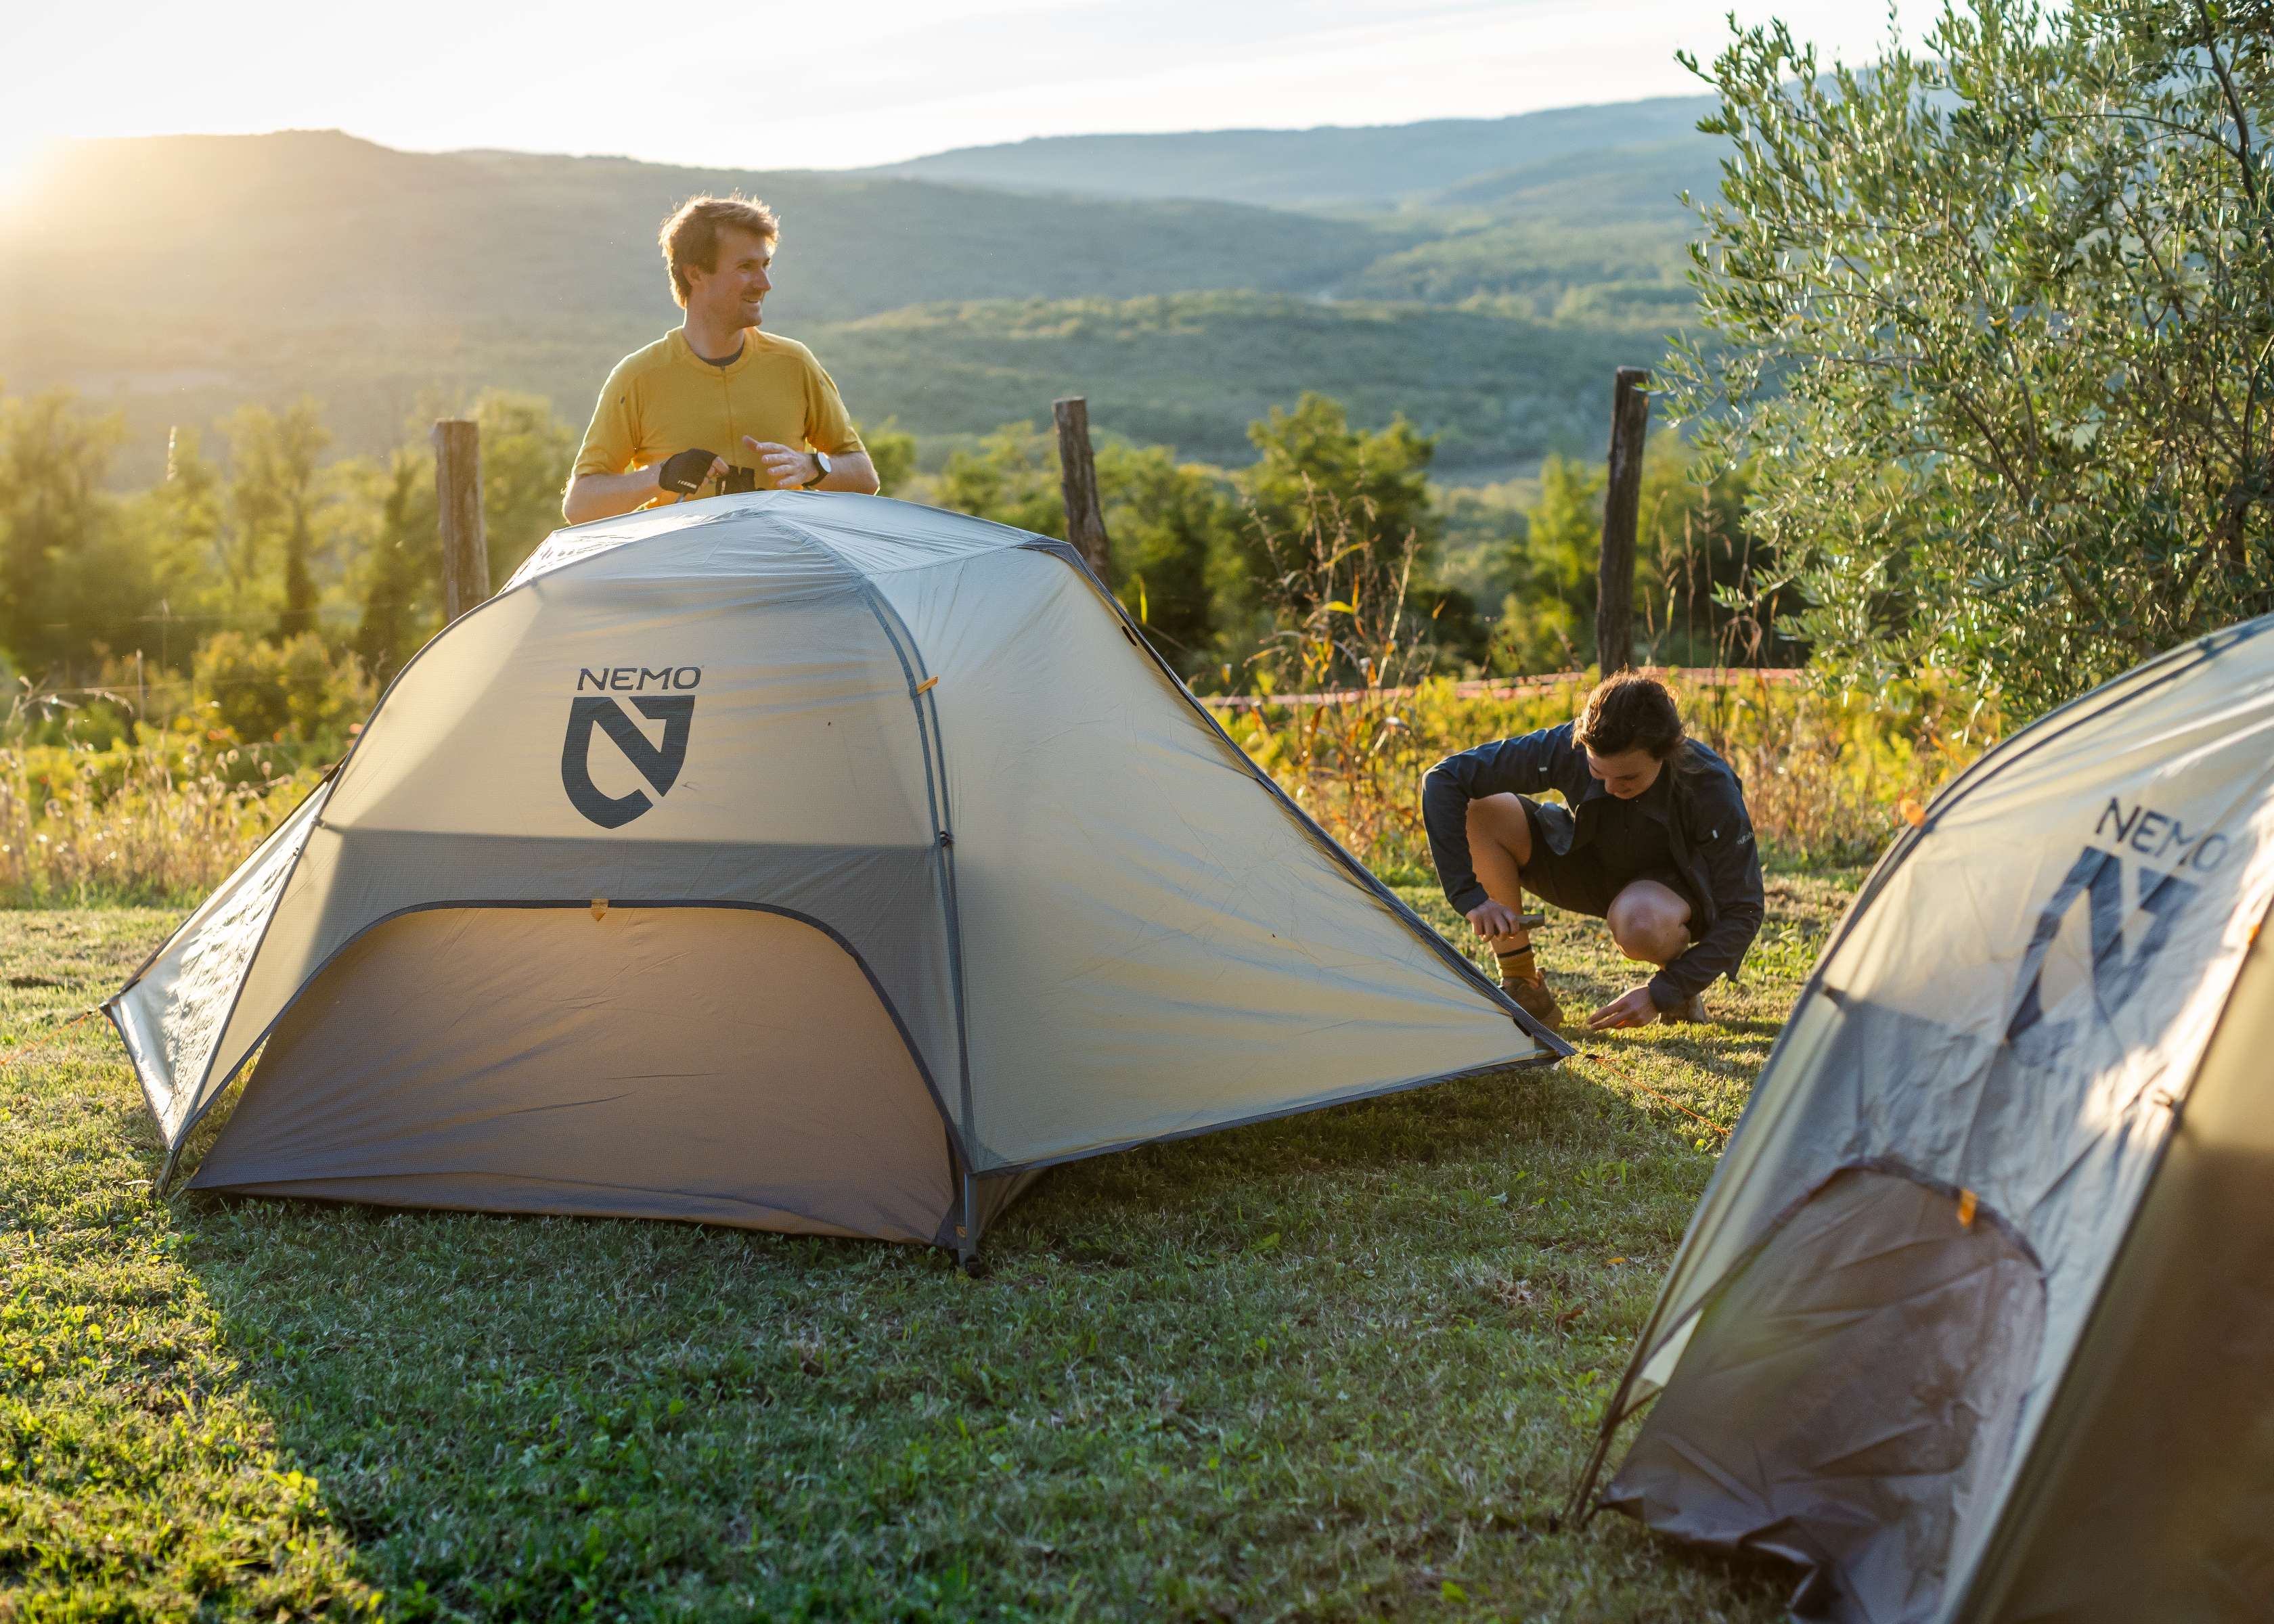
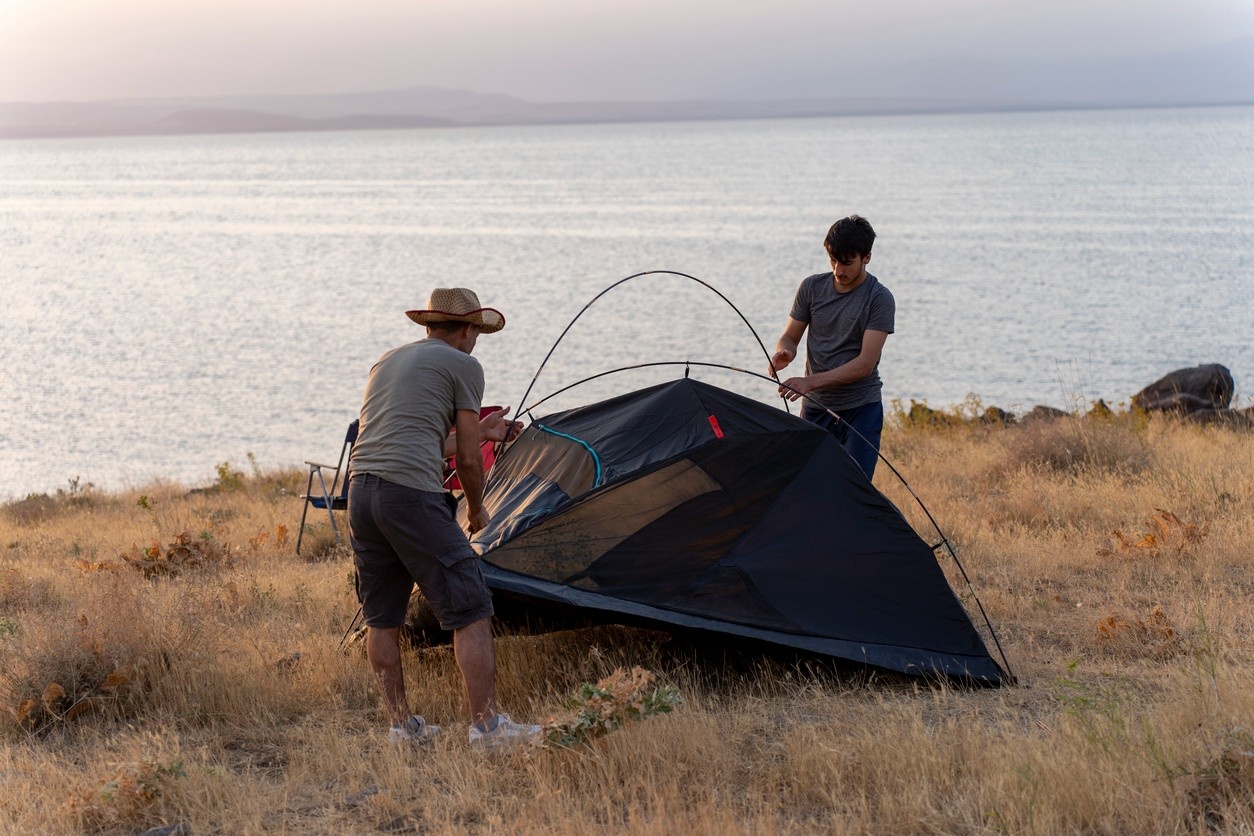
First-time camper and not sure where to start? Or love camping and want to nail the perfect pitch every time? Whether you’re pitching up at home, on a campsite, or on a deserted hillside, hear from one of our Core Experts and camping enthusiast, Matt, on the basics of pitching a tent and how to make the most of your time under canvas.
How To Pitch A Tent Like A Pro
Quick Answer: How Do You Pitch a Tent Like a Pro?
To pitch a tent like a pro, choose a flat, sheltered site, clear debris, lay out your tent footprint, assemble the poles, attach the flysheet and inner tent, secure all guy lines, and check for tautness. Always follow your tent’s specific instructions and adapt to the terrain and weather conditions for the best results.
Step-By-Step Guide To Pitching Your Tent
“Over the years that I’ve been camping, I’ve discovered that there is no one way to pitch a tent. There is so much variety in terms of shape and size, and structure changes from brand to brand. However, there are some simple steps and basic principles to follow that make pitching a tent more manageable, whether you’re a first-time camper or passionate pitcher looking to spend less time setting up and more time enjoying the great outdoors."
How To Pitch Your Tent:
1. Unpack your tent, find the entrance and lay it flat with the entrance door in the direction you’ve chosen to pitch. Top tip: You should always try to pitch downhill and in the same direction as prevailing wind, if possible.
2. Peg down the corners of your tent. Use a mallet or hammer to put pegs in angling away from tent. Top tip: always try to put the pegs in at a 45-degree angle.
3. Take your poles out of the bag and assemble them. With modern tents, most poles are colour coded. Top tip: remember, in high winds, the lightweight pole bags can go flying so always find somewhere to stash the bag once you’ve taken the poles out.
4. Find the pole sleeves on your tent, then start threading through. Always start with main poles on the tent before the porch. Top tip: sleeves are sometimes colour-coded to match the poles, so be sure to check you are threading it through the correct sleeve before committing. Also, you should always push poles through the sleeves – do not pull them!
5. Once the tent has shape and structure, you can continue to put the rest of the pegs in and then pull out the guy ropes to add further tension and stability to the tent. The guy ropes will also need to be pegged down. Top tip: remember to put the pegs in at a 45-degree angle leaning away from tent.
"Most tent manufacturers will provide some form of instructions that come with their tent, but if you need more of a practical demonstration, there are plenty of YouTube videos to get stuck into if you need help with the perfect pitch.”
There you have it: a simple, 5-step guide to pitching your tent like a pro. Hopefully with a bit of practice, you’ll be pitching up in record time, leaving you plenty of time to enjoy the outdoors.
If you're looking for the perfect tent fror your next camping trip. why not check out our fantastic collection of one-person, two-person, and family tents:
Why Tent Pitching Matters: Comfort, Safety, and Adventure
Pitching a tent is more than a practical task. It’s the foundation of your outdoor shelter. A well-pitched tent shields you from the elements, keeps you dry, and ensures a restful night’s sleep. Poorly erected tents can lead to leaks, collapsed poles, or even dangerous situations in high winds. Learning to pitch a tent properly is essential for:
- Weather protection: Prevent rainwater ingress and wind damage.
- Comfort: Avoid lumps, bumps, and awkward sleeping angles.
- Safety: Reduce the risk of trip hazards and tent collapse.
- Efficiency: Save time and energy, especially in challenging conditions.
Ensure the flysheet is taut and not touching the inner tent. Regularly check seams and reproof with waterproofing spray as needed. Always use a groundsheet.
Pitch with the narrowest end facing into the wind. Use all guy lines, double peg if necessary, and choose a sheltered site.
Yes, but use rock pegs or sandbags if standard pegs won’t hold. Avoid damaging the tent floor by clearing sharp stones and debris.
Use a tent with good weatherproofing, pitch away from exposed ridges, and use a quality sleeping mat. Ventilate to reduce condensation.
Pop-up tents are the quickest, but for durability and versatility, practice pitching dome or tunnel tents efficiently.
Related articles

Let us know you agree to cookies
We use marketing, analytical and functional cookies as well as similar technologies to give you the best experience. Third parties, including social media platforms, often place tracking cookies on our site to show you personalised adverts outside of our website.
We store your cookie preferences for two years and you can edit your preferences via ‘manage cookies’ or through the cookie policy at the bottom of every page. For more information, please see our cookie policy.


